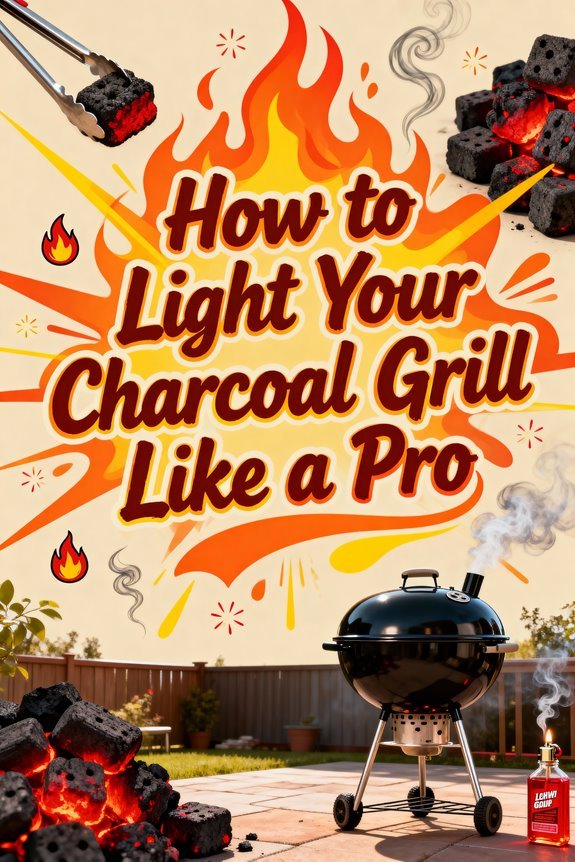
To light your charcoal grill like a pro, fill a chimney starter with your preferred charcoal, place crumpled newspaper or natural fire starters underneath, and ignite. Wait 15-20 minutes until the coals develop a gray ash coating and flames crest the top. Pour the hot coals into your grill, arranging them for direct or two-zone heat depending on what you’re cooking. Always keep bottom vents open during lighting and position your grill at least ten feet from structures. Master these fundamentals, and you’ll reveal advanced techniques that separate weekend grillers from true pit masters.
Essential Tools You’ll Need Before Getting Started
Success at the charcoal grill begins with assembling the right equipment before you strike the first match. A chimney starter stands as your primary tool—this metal cylinder with internal grate ignites charcoal efficiently without chemical-laden lighter fluid. You’ll need heat-resistant gloves for safe handling when transferring glowing coals after their 15-20 minute heating period.
For ignition tools, invest in a windproof butane torch lighter for reliable performance in any weather. Stock natural fire starters like paraffin wax cubes or crumpled newspaper to place beneath your charcoal. Long-handled tongs and a quality grill brush round out your essential kit. Just like with a gas grill brush, ensure your cleaning tools are specifically designed for grates to prevent damage and maintain proper hygiene.
Keep a fire extinguisher nearby and avoid cheap tools that compromise safety. An electric charcoal lighter offers another chemical-free option that applies direct heat to ignite your coals. Proper storage containers preserve your charcoal’s dryness, ensuring consistent ignition every time you grill.
[affiai keyword=”essential charcoal grilling tools starter kit” template=”carousel” count=”3″
Choosing the Right Charcoal for Your Grilling Style
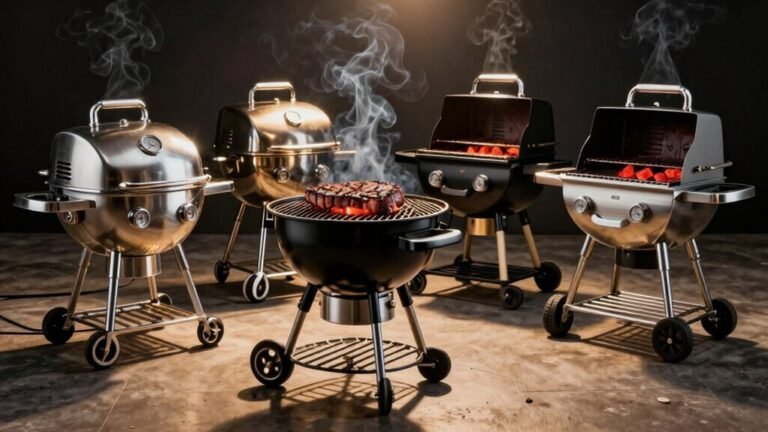
Your charcoal selection directly determines heat output, flavor profile, and cooking duration at the grill. Among charcoal types, lump charcoal delivers high heat and rapid temperature adjustments for searing steaks. Briquettes provide consistent, predictable burns but contain additives. For extended cooking sessions, hardwood charcoal burns slowly with robust smoke characteristics.
Flavor profiles vary markedly across specialty options. Mesquite and hickory impart bold, smoky notes to beef and pork, while applewood offers milder, fruity undertones for poultry. Coconut charcoal produces minimal ash with neutral flavor, ideal when you want the meat’s natural taste. Binchotan burns for hours with precision heat control but commands premium pricing. Lump charcoal is free from fillers that can affect your food’s flavor, making it the purest option for discerning grillers.
Match your fuel to technique: high-heat grilling demands lump charcoal, while low-and-slow BBQ benefits from hardwood or specialty charcoals. Using a charcoal chimney ensures even heating and quick ignition of your chosen fuel type. Setting up direct heat zones allows for perfect searing while maintaining temperature control.
[affiai keyword=”premium grilling charcoal hardwood lump” template=”carousel” count=”3″
Step-by-Step Methods for Lighting Your Charcoal
Four proven methods will light your charcoal efficiently, each suited to different grilling scenarios and equipment on hand. The chimney starter remains the gold standard—fill it with your chosen charcoal types, ignite newspaper or cubes beneath, and wait 15–20 minutes until flames crest the top. The pyramid method works when you’re without tools: criss-cross coals for airflow, stack them high, then light at the base for 20–30 minutes. Electric coils and propane torches offer flameless lighting techniques that eliminate chemical residues entirely. Natural fire starters—oil-soaked paper towels or wood blocks—nestle among briquettes or lump charcoal for clean ignition. Each method demands patience: wait until gray ash coats your coals before cooking begins, ensuring even heat and ideal flavor. Always position your chimney starter on a heat-resistant surface to prevent damage and ensure safe lighting. Once lit, use the top damper to control temperature by adjusting airflow through your grill. For low and slow cooking like smoking ribs, maintain a steady 250 degree temperature for optimal results.
Arranging Coals for Perfect Heat Zones
Once your coals glow with gray ash, strategic arrangement transforms raw heat into controlled cooking zones that separate professionals from backyard amateurs. For direct fire, spread lit charcoal evenly across the grate—this configuration delivers consistent high heat perfect for searing burgers and fish quickly. However, versatile cooks prefer the two zone setup: bank coals heavily on one side for intense heat while leaving the opposite side empty for indirect cooking. This arrangement lets you sear steaks over direct flames, then finish them in the cooler zone without flare-ups. For advanced control, try the three-zone method with coal piles on both ends and a calm center, ideal for large roasts requiring uniform heat distribution and extended cooking times. Monitor your heat zones with a grill thermometer to ensure each area maintains the proper temperature for your cooking needs. The direct heat zone works particularly well for red snapper, where medium-high heat helps achieve that perfectly flaky texture in just minutes. For a perfect medium-rare steak, start with two minutes searing on each side before moving to the indirect zone until reaching the desired temperature.
Safety Tips and Common Mistakes to Avoid
Mastering heat zones won’t matter if you’ve created a safety hazard that endangers your property or family. Fire prevention starts with proper placement—position your grill at least ten feet from structures and flammable materials. Implement effective ventilation strategies by grilling outdoors only, never in garages or enclosed patios where carbon monoxide accumulates. Regular cleaning sessions help prevent dangerous grease fires and extend your grill’s lifespan.
Never add lighter fluid to hot coals—this common mistake causes dangerous flare-ups. Keep a fire extinguisher or sand bucket within arm’s reach. Wear heat-resistant gloves when adjusting grates or moving lit charcoal. Ascertain bottom vents stay fully open during lighting to prevent gas buildup. When switching fuel types, ensure gas valves are completely closed before disconnecting any propane tanks.
Store lighter fluid away from heat sources with caps secured tightly. Use only approved lighter fluid designed specifically for charcoal grills, never gasoline or other flammable liquids. Before disposing of ash, let coals cool completely for 48 hours to prevent accidental fires.
[affiai keyword=”grill safety equipment and accessories” template=”carousel” count=”3″
Troubleshooting Problems and Mastering Temperature Control
Temperature control separates successful grilling from charred disasters and undercooked meat. Master this skill through precise vent adjustments and strategic airflow control.
Open both vents fully for high heat searing. For medium temperatures, close your top vent halfway while keeping the bottom fully open. Low-and-slow cooking requires the top vent at quarter position with the bottom remaining open. Like smoked sausage storage, proper temperature control helps maximize the shelf life of grilled meats.
If your charcoal won’t light, check for moisture or excessive ash buildup restricting oxygen flow. Temperature fluctuations signal clogged vents—clean them immediately. When cooking delicate items like salmon, maintaining proper temperatures helps preserve the fish’s moisture and flavor for any leftovers you plan to freeze.
Create heat zones by banking charcoal to one side, establishing direct and indirect cooking areas. Monitor temperatures using a reliable thermometer rather than guessing. A lid thermometer registers the overall ambient temperature inside your grill for accurate readings. Clean vents regularly to prevent airflow problems that compromise your temperature targets.
[affiai keyword=”grill temperature control thermometer kit” template=”carousel” count=”3″