Skip to content
Home
Reviews
Grilling & Smoking Guides
Expand
Cooking Techniques & Recipes
Equipment & Maintenance
Tips, timing, Meal Planning
About Us
Toggle Menu
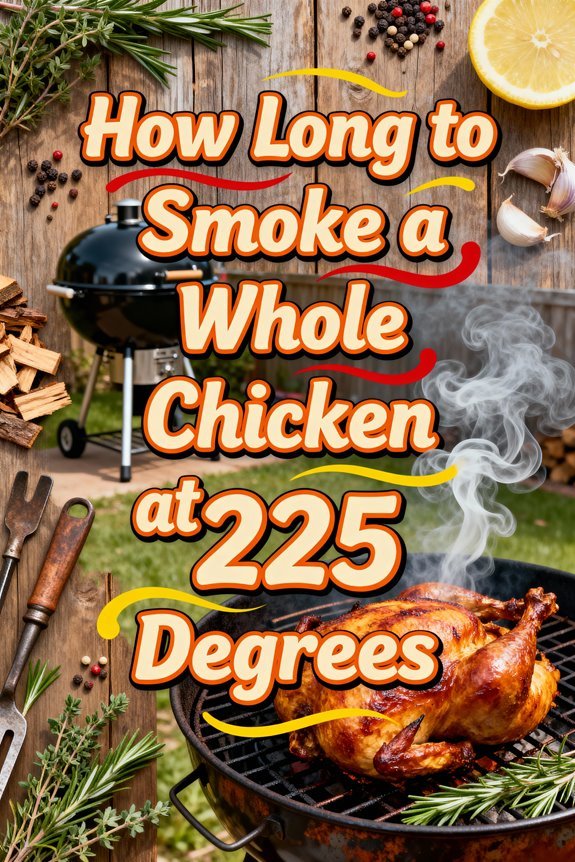
How Long to Smoke a Whole Chicken at 225 Degrees
Tina Elliott
Tips, timing, Meal Planning