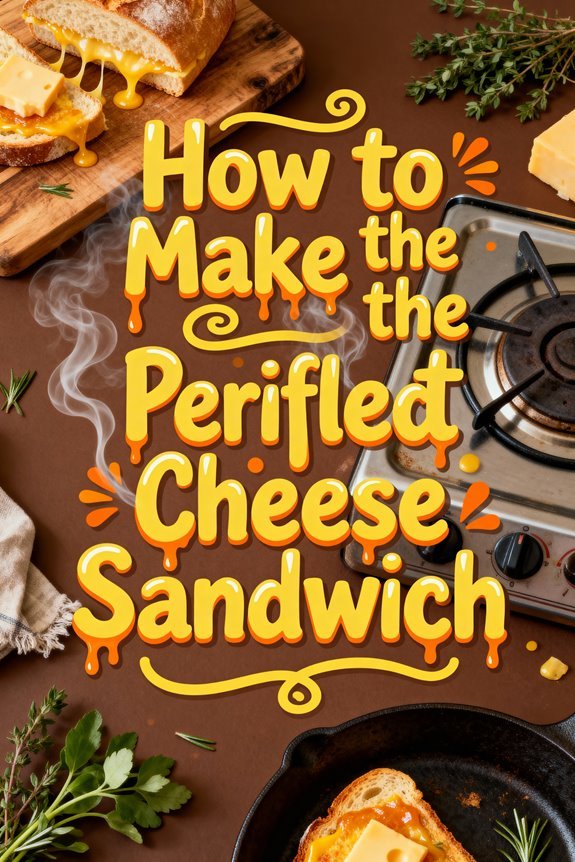
To make the perfect grilled cheese, start with thick-sliced bread and a combination of semi-soft and robust cheeses like Havarti paired with aged Cheddar. Use a cast-iron skillet at medium-low heat (225-275°F) and butter your bread directly. Cook for 5-6 minutes total, covering the pan to help melt the cheese evenly. Flip once when golden brown, and monitor closely for best results. These fundamental techniques lay the groundwork for creating your ideal sandwich.
The Art of Bread Selection
When crafting the perfect grilled cheese sandwich, your choice of bread serves as the foundation that will make or break the final result. Consider texture importance: you’ll want thick slices that can withstand heat and support fillings without breaking. Bread types like Texas toast and multigrain offer excellent structural integrity, while sourdough’s crusty exterior creates an appealing contrast with melted cheese. Garlic infused breads can add an extra layer of comfort and flavor to your sandwich.
For flavor pairings, match your bread to your cheese carefully. Sourdough’s tanginess complements rich artisan cheeses, while malted grain’s natural sweetness enhances milder varieties. If you’re considering dietary options, multigrain and whole grain breads provide added nutritional benefits. When examining availability factors, pre-sliced options like Texas toast offer convenience, but don’t overlook fresh-sliced artisanal loaves for superior results. Your slicing methods matter – aim for even, thick cuts to guarantee consistent cooking. For optimal browning, apply soft butter generously to the outer surfaces of your bread slices. Consider serving your sandwich with classic tomato soup for a timeless comfort food combination that never disappoints.
Choosing the Right Cheese Blend
The success of your grilled cheese sandwich largely depends on selecting an ideal combination of cheeses that melt well and complement each other’s flavors. Consider pairing semi-soft cheeses like Havarti or Gouda with more robust options like Gruyère or aged Cheddar to achieve peak flavor profiles. For superior melting properties, grate your cheese fresh rather than using pre-packaged varieties. Cast iron skillets provide the most even heating for perfectly melted cheese. Like finding the best deals on grills during off-season sales, timing is crucial when melting cheese to perfection.
Your cheese preferences should guide your blend choices. A classic combination of smoked Gouda and Gruyère delivers rich, complex notes, while medium Cheddar paired with Havarti offers a more balanced profile. When experimenting with stronger cheeses like Buttermilk Blue, use them sparingly and balance them with milder varieties. For enhanced texture and consistent melting, slice your cheese rather than shredding it, ensuring even distribution across your sandwich. For the perfect golden crust, spread mayonnaise outside and butter inside your bread slices.
Essential Equipment and Tools
Creating perfect grilled cheese sandwiches demands the right equipment and tools for consistent results. You’ll need to start with the proper skillet type – cast iron offers superior heat distribution and browning, while nonstick pans provide easier cleanup but require careful temperature monitoring. Stainless steel works too, though it may not brown as evenly. Having a good cooking pan will ensure even heat distribution and optimal browning of your bread. Like grilling delicate tuna steaks, maintaining proper heat control is essential for achieving the perfect result.
For the signature Starbucks-style crust, a parmesan butter mixture should be spread evenly across the bread’s exterior before grilling. Utensil importance can’t be overstated. You’ll need a sturdy spatula for flipping, butter knives for spreading condiments, and a reliable cutting board for preparation. Consider using a lid to trap steam for better cheese melting, and keep oven mitts handy for safety. For precise temperature control, adjust your burner carefully and use a timer to guarantee even cooking on both sides. Optional tools like sandwich presses or electric griddles can enhance consistency.
Preparing Your Ingredients
Successful grilled cheese preparation begins with methodically organizing your core ingredients: bread, cheese, and butter.
For best results, grate your cheese fresh or slice it thinly, avoiding pre-shredded varieties that contain anti-caking agents. You’ll need 1-2 ounces of cheese per sandwich side. If you’re planning ahead, you can grate cheese up to four days in advance and store it in an airtight container. Let your butter soften at room temperature for easy spreading – you’ll need about one teaspoon per bread slice. Select bread that’s neither too thick nor too thin, ensuring even slices for consistent grilling. A blend of sharp cheddar and Gruyère creates an exceptionally rich flavor profile. If you’re using condiments like mayonnaise or mustard, measure them out before assembly. Always build your sandwich just before cooking to maintain ideal texture and prevent sogginess. Consider preparing multiple sandwiches at once since the oven method allows you to cook several simultaneously on a single sheet pan. Just as you would with a rust-free grill grate, ensure your cooking surface is clean and properly maintained for the best results.
Mastering the Cooking Technique
With your ingredients properly organized, mastering the cooking technique determines your grilled cheese’s final quality. Set your skillet to medium-low heat, as this prevents burning while ensuring thorough melting. If you’re using cooking oils or butter, apply them directly to the bread rather than the pan for even distribution and ideal browning. The whole process should take 5-6 minutes for optimal results. Press down slightly on your sandwich with a thin spatula, then flip only once when the first side reaches golden brown, typically after three minutes. Cover the pan with a lid to trap steam, accelerating the cheese-melting process. For thicker sandwiches, add a few drops of water before covering to create additional steam. Much like gentle simmering helps retain moisture in bratwurst, this steaming technique ensures your cheese melts evenly without drying out. Monitor carefully, and remove the sandwich when both sides are evenly toasted and the cheese has completely melted. Alternatively, using a preheated baking sheet in your toaster oven creates a perfect griddle-like surface for crispy results.
Adding Flavor Enhancements
While a classic grilled cheese delivers timeless comfort, strategic flavor enhancements can elevate your sandwich from simple to sublime. Start by layering complementary cheeses, combining aged cheddar or Gruyère with creamy Muenster or provolone for depth and ideal melting. Add savory spreads like Dijon mustard or garlic aioli to create a flavor foundation, then incorporate gourmet toppings such as prosciutto, caramelized onions, or fresh herbs. You’ll achieve maximum impact by balancing sweet and salty elements – try fig jam with sharp cheese or sweet pickles with smoky bacon. Choose your bread wisely; rustic sourdough or buttery croissants provide the perfect canvas for these sophisticated combinations. For extra richness, consider cooking your enhanced creation in rendered bacon fat. For a delightful textural contrast, sprinkle candied maple walnuts between your cheese layers before grilling. Serve your gourmet grilled cheese alongside baked beans for a hearty, protein-rich meal that satisfies. Always remember to clean your grates thoroughly after grilling to ensure your next sandwich has no unwanted flavors from previous cooking sessions.
Perfect Timing and Temperature
Achieving the perfect grilled cheese requires precise temperature control and impeccable timing. Set your electric griddle to 275°F or use medium-low heat on your stovetop. You’ll need 2-3 minutes per side on medium heat, or 5 minutes per side on low to medium-low heat, for ideal results. Salted butter enhances the flavor of the crispy golden crust.
Watch for proper browning and make timing adjustments as needed. You’ll want to cook your sandwich for about 5 minutes initially, then flip and monitor closely. If you’re using a cast-iron skillet or non-stick pan, make sure it’s properly preheated before adding your sandwich. For even melting, consider covering the pan to trap heat. Similar to smoking temperature, maintaining consistent low heat around 225-275°F ensures gentle, even cooking without burning. Temperature control is essential – cooking too hot will burn the bread before your cheese melts. Make periodic checks and adjust heat levels to achieve that perfect golden-brown exterior and fully melted interior. Much like modern WiFi-enabled smokers, some advanced electric griddles offer precise digital temperature control for consistent results.
Presentation and Serving Suggestions
The perfect grilled cheese deserves an equally impressive presentation. Consider your platter design carefully, arranging various breads and cheeses in sectioned areas for easy access. Create an interactive setup by placing small bowls of gourmet toppings like caramelized onions, fig jam, and prosciutto around a central board. Having a designated grill master ensures consistent sandwich preparation when serving larger groups.
Don’t forget your garnish options – fresh herbs and edible flowers can elevate the visual appeal of your spread. For beverage pairing, offer craft beers or selected wines that complement your cheese selections. Set up a separate condiment station with artisanal aiolis and pestos. Much like maintaining proper temperature control in an electric smoker, monitoring your heat levels is crucial for achieving perfectly melted cheese. For optimal freshness, store any leftover grilled cheese sandwiches in airtight packaging in the refrigerator. If you’re serving at an event, consider using themed platters that match your setting’s aesthetic. For added sophistication, include premium cheese varieties and unique accompaniments like sliced apples or pears to create a memorable dining experience.